
Warning: Undefined array key 2 in /home/naoooooo8/naoya-ono.com/public_html/blog/wp-content/themes/sango-theme-poripu/library/functions/prp_content.php on line 15
Warning: Undefined array key 3 in /home/naoooooo8/naoya-ono.com/public_html/blog/wp-content/themes/sango-theme-poripu/library/functions/prp_content.php on line 18
Warning: Undefined array key 4 in /home/naoooooo8/naoya-ono.com/public_html/blog/wp-content/themes/sango-theme-poripu/library/functions/prp_content.php on line 21
Warning: Undefined array key 2 in /home/naoooooo8/naoya-ono.com/public_html/blog/wp-content/themes/sango-theme-poripu/library/functions/prp_content.php on line 27
Warning: Undefined array key 3 in /home/naoooooo8/naoya-ono.com/public_html/blog/wp-content/themes/sango-theme-poripu/library/functions/prp_content.php on line 30
Warning: Undefined array key 4 in /home/naoooooo8/naoya-ono.com/public_html/blog/wp-content/themes/sango-theme-poripu/library/functions/prp_content.php on line 33
PayPal決済のテスト時に使用するアカウントの取得方法について解説します。
Developerアカウントの取得方法
Developer用ページにアクセスし、画面右上の「Log into Dashboard」をクリックします。

認証画面が出てくるので、あなたのPayPalアカウントでログインします。

ダッシュボードが開くので、画面左のメニューの中から「SANDBOX」-「Accounts」をクリックします。

すると、下のような画面が表示されます。
PayPal側であらかじめビジネス用テストアカウント、個人用テストアカウントをそれぞれ1つずつ用意してくれているので、あとはこれらのアカウントが使用できます。

テストアカウントのパスワードは画面右端の「Manage Accounts」から確認・変更できます。
残高確認方法
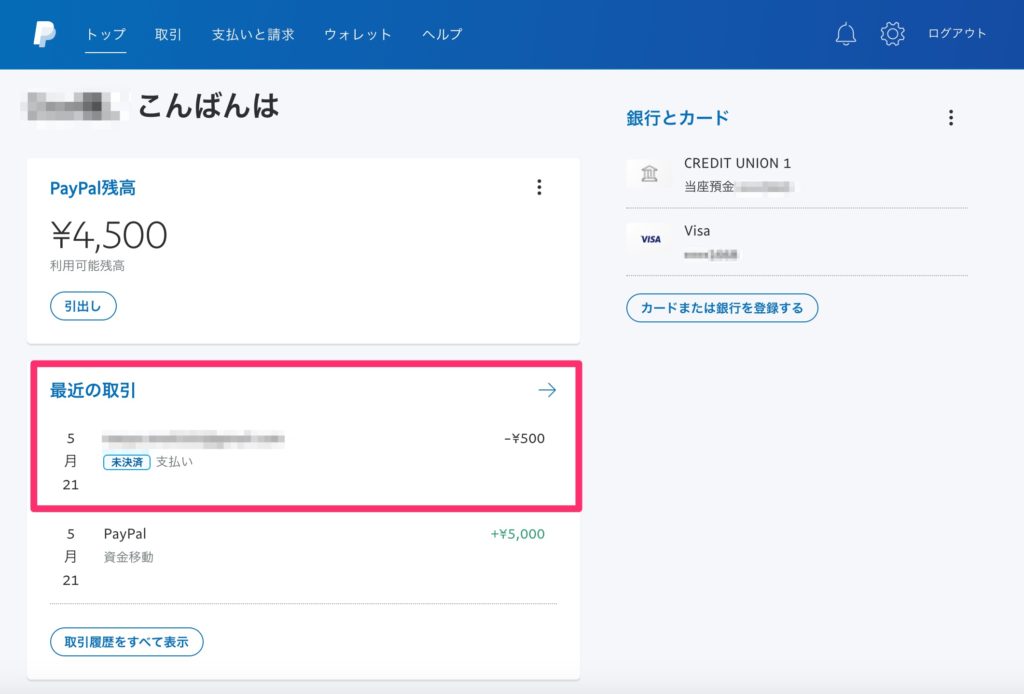
アカウント作成と同時に、テストアカウントに5,000円分のテストマネーが登録されます。
確認方法は以下のボタンをクリックしてテスト用アカウントでログインすると見ることができます。
実際に画面にログインするとこんな感じ。
テスト後にキャプチャを取ったので、残高が500円減ってます。