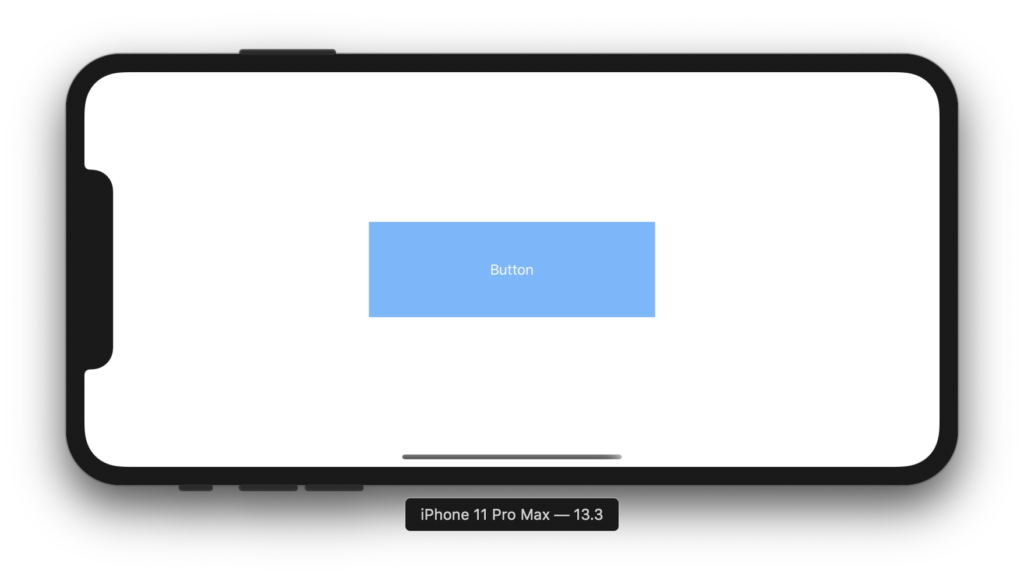
今回はこちらのUIButtonを例にコードで細かいボタンの設定を行う方法を紹介します。
Contents
UIButton ボタンの装飾
1. ボタンの背景色を変更する
button.backgroundColor = UIColor.orange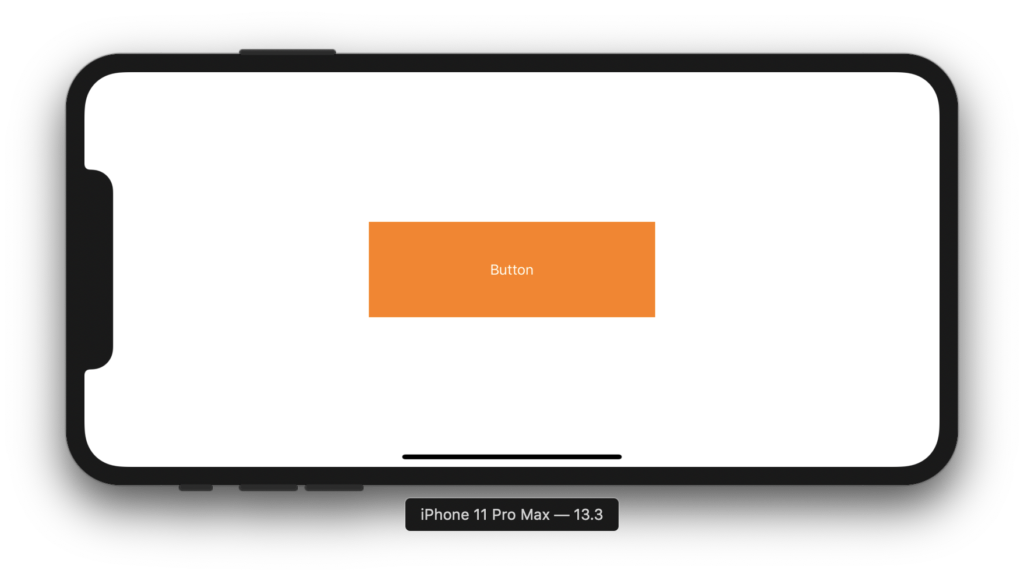
上記はシステムカラーを使用していますが、好きな色を使用したい場合はUIColor(red: 0.4, green: 0.4, blue: 1.0, alpha: 1.0) のようにrgbaを指定してあげれば良いです。
2. ボタンの角を丸める
button.layer.cornerRadius = 10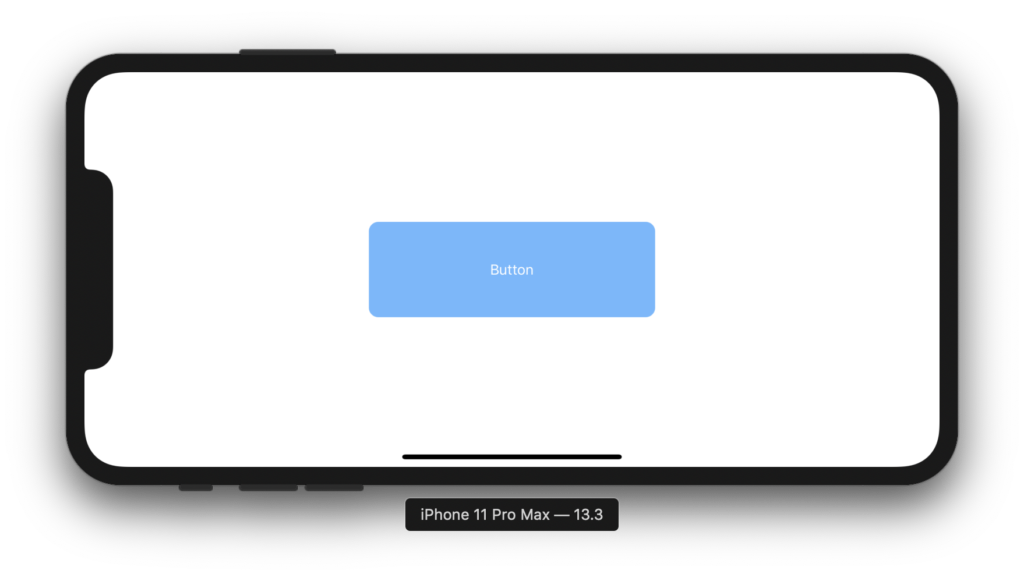
cornerRadiusの値が大きくなるほど角が丸くなります。
3. ボタンに枠線をつける
button.layer.borderColor = UIColor.yellow.cgColor  // 枠線の色
button.layer.borderWidth = 5.0 // 枠線の太さ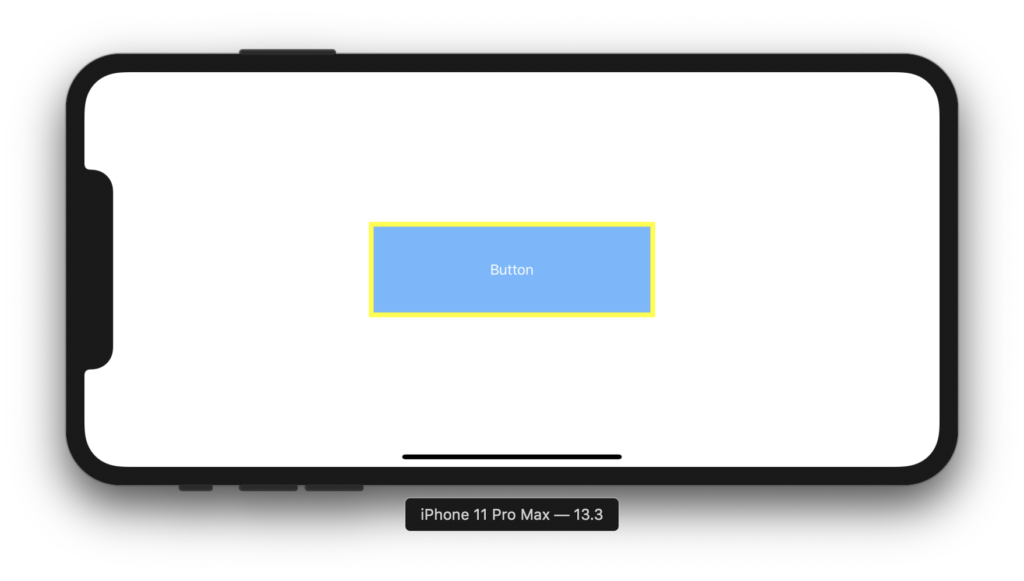
枠線の色はrgbaで好きな色を指定することも可能です。
4. 影をつける
button.layer.shadowColor = UIColor.black.cgColor // 影の色
button.layer.shadowOpacity = 0.3  //影の濃さ
button.layer.shadowRadius = 5.0 // 影のぼかし量
button.layer.shadowOffset = CGSize(width: 5.0, height: 5.0) // 影の方向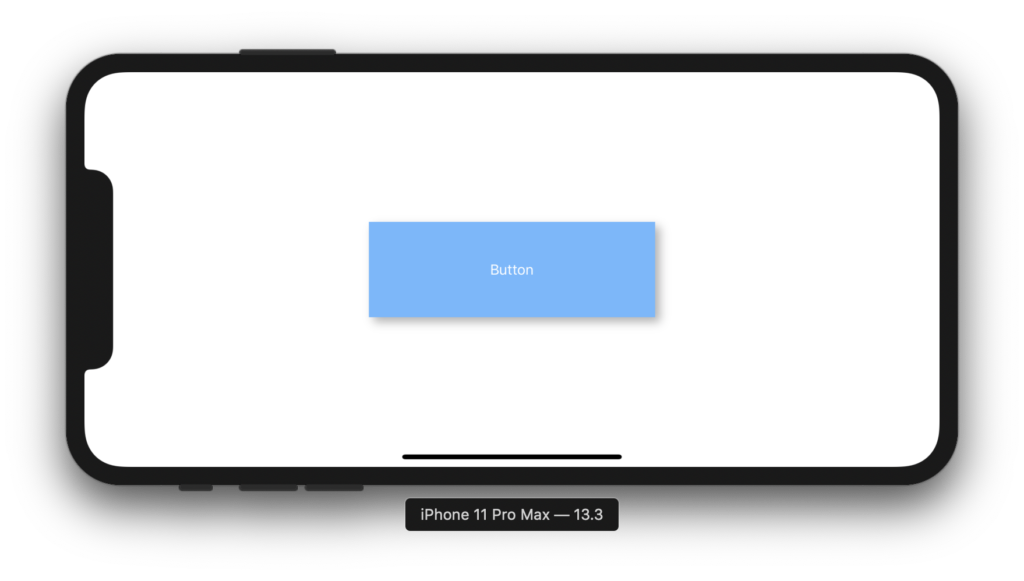
UIButton テキストの設定
1. フォントの種類やサイズを変更する
button.titleLabel?.font =  UIFont.systemFont(ofSize: 24)
button.titleLabel?.font = UIFont.boldSystemFont(ofSize: 24)
button.titleLabel?.font = UIFont.italicSystemFont(ofSize: 24)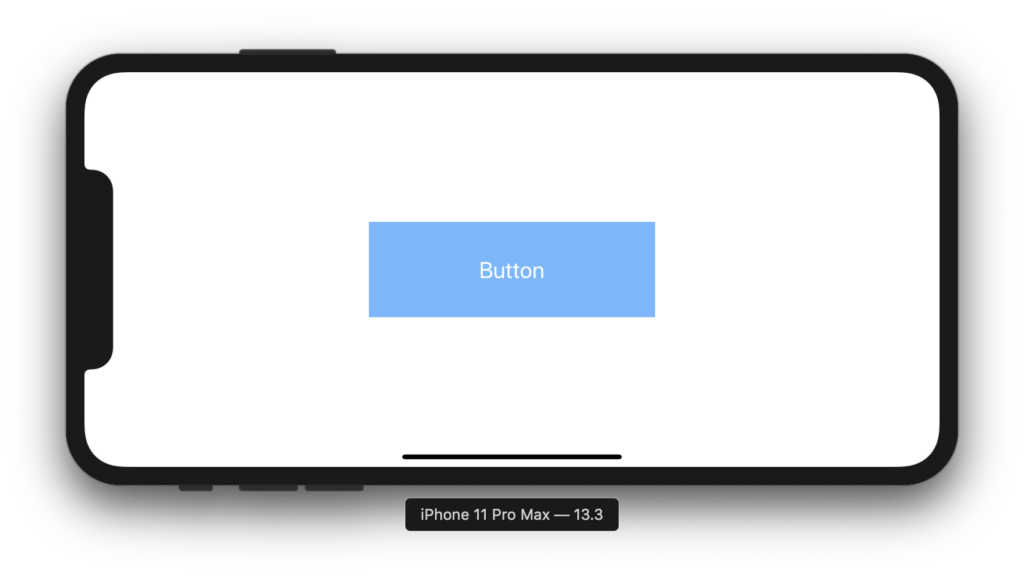
2. テキストカラーの変更
button.setTitleColor(UIColor.yellow, for: .normal)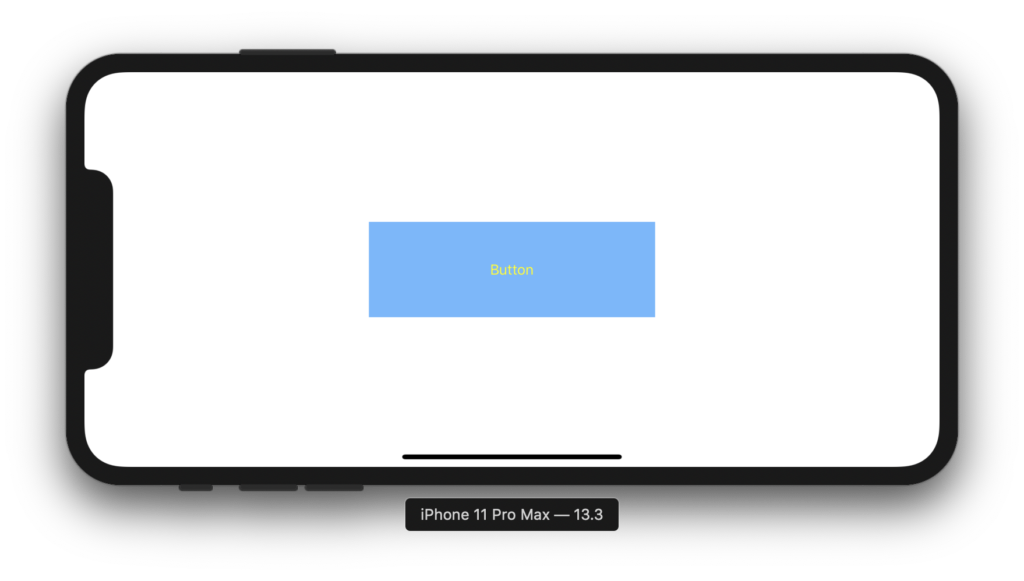
注意
UILabelの時とはテキストの設定方法が異なります。
3. テキストの値を設定・変更
button.setTitle("セットしたいテキスト", for: .normal)4. テキストを複数行で表示できるようにする
button.titleLabel!.numberOfLines = 5 // 5行表示できるようになる
button.titleLabel!.numberOfLines = 0 // 最大行(Buttonの高さ)まで表示できるようになるテキストはデフォルトでは1行しか表示できないので、複数行表示したい場合は上記のようにnumberOfLinesを使って設定します。
